Creating a New Repository
This step-by-step guide will walk you through the process of creating a new repository on GitHub with detailed screenshots.
Prerequisites
Before you begin, make sure you have:
- A GitHub account (if you don't have one, sign up at github.com)
- Logged into your GitHub account
Step 1: Create a New Repository
Let's start by creating a new repository on GitHub.
Step 1.1: Click the "+" icon in the top-right corner
In the top-right corner of any GitHub page, click on the "+" icon and select "New repository" from the dropdown menu.
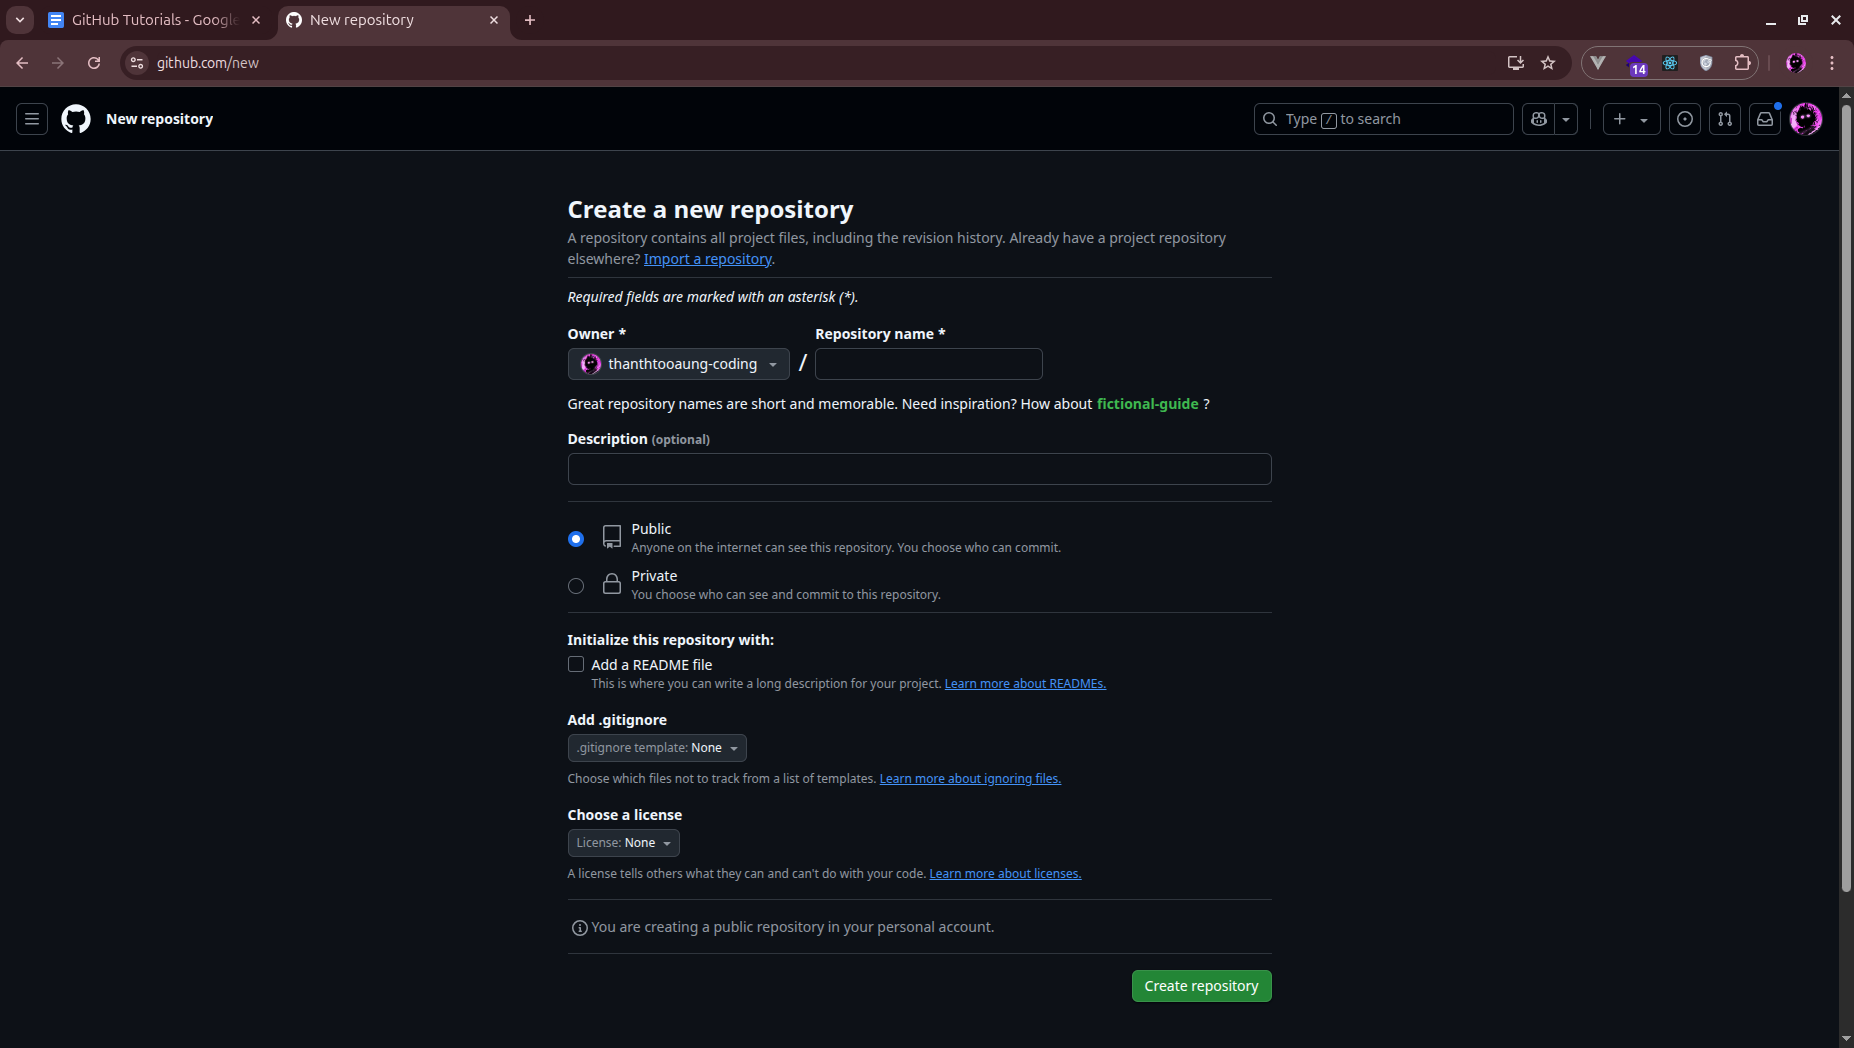
Step 1.2: Fill in repository details
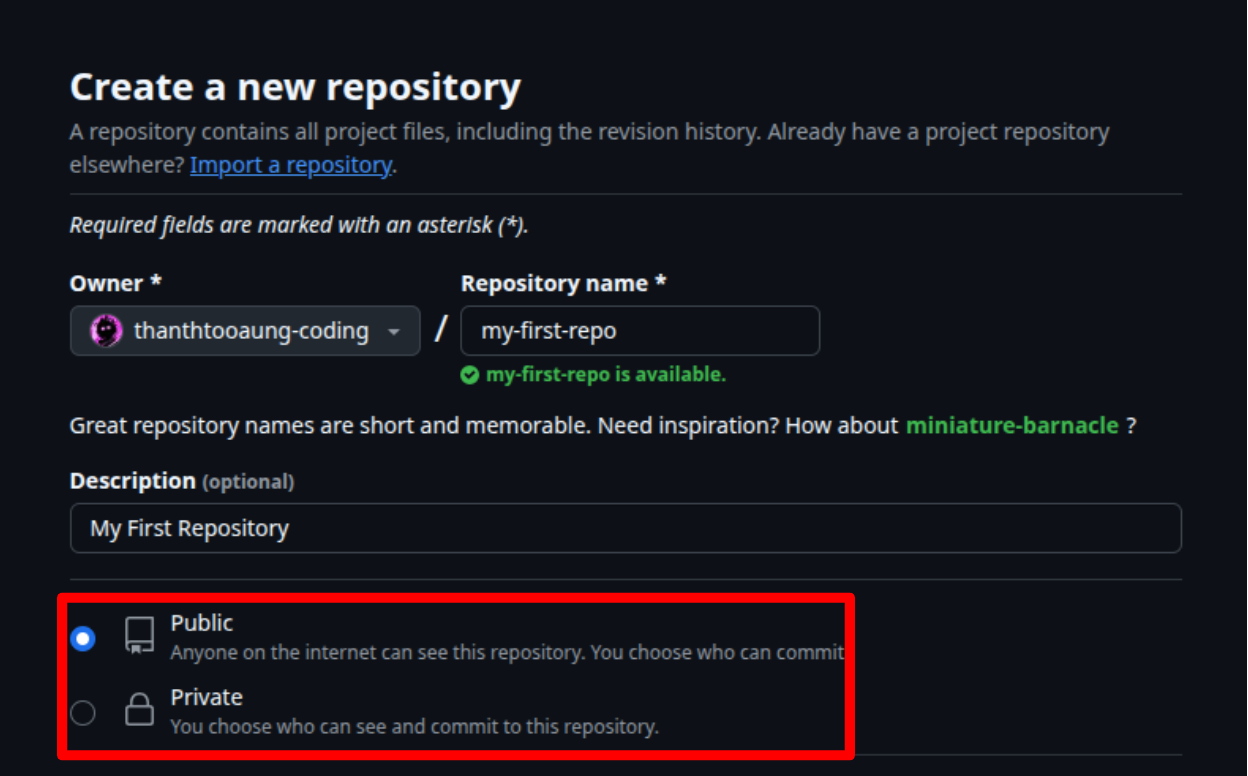
On the "Create a new repository" page, fill in the following information:
- Repository name (e.g., "my-first-repo")
- Description (optional but recommended)
- Choose whether the repository should be public or private
Step 2: Initialize Your Repository
Now, let's initialize your repository with some starter files.
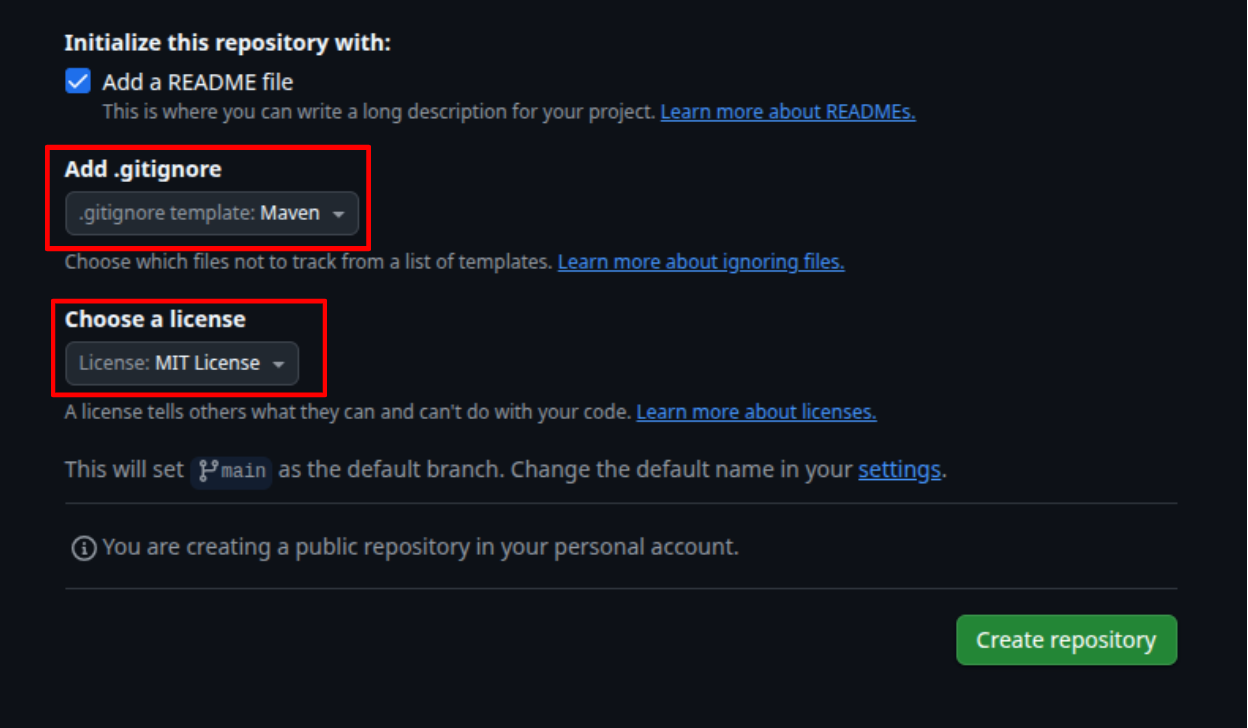
Step 2.1: Initialize repository options
Scroll down to the "Initialize this repository with" section and select the options you want:
- Add a README file (recommended for new repositories)
- Add .gitignore (select a template based on your project type)
- Choose a license (optional)
After filling in all the details, click the "Create repository" button at the bottom of the form.
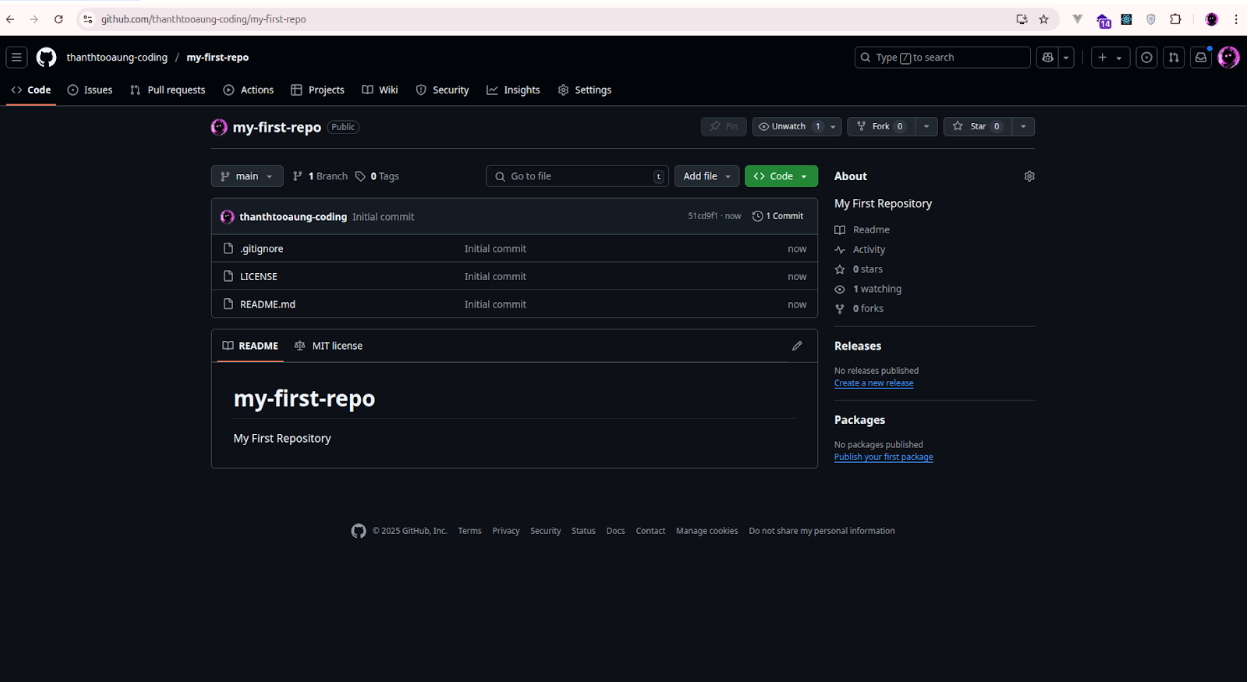
Step 2.2: Repository created successfully
Congratulations! Your new repository has been created. You'll be redirected to your repository's main page.
Step 3: Configure Repository Settings
After creating your repository, you can configure additional settings to customize your workflow.
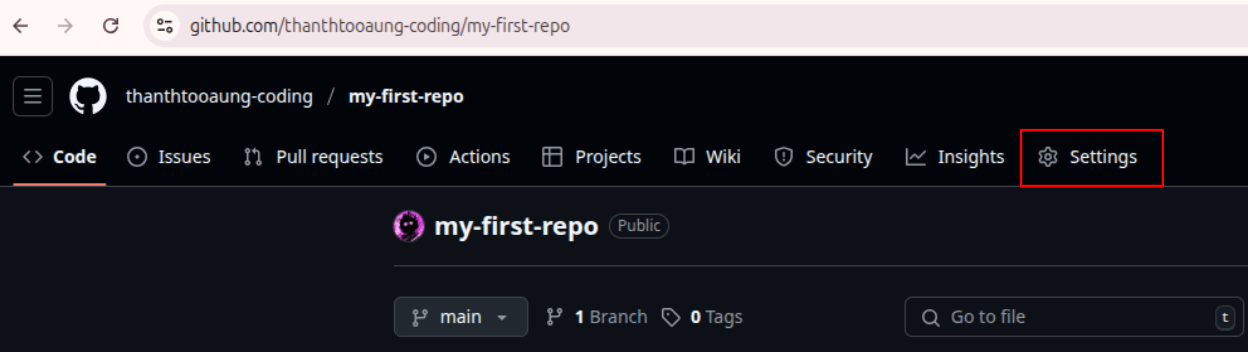
Step 3.1: Access repository settings
Navigate to your repository's main page and click on the "Settings" tab in the top navigation bar.
In the General settings section, you can:
- Change repository name
- Change visibility (public/private) and set default branch
- Enable/disable features (Issues, Wiki, etc.)
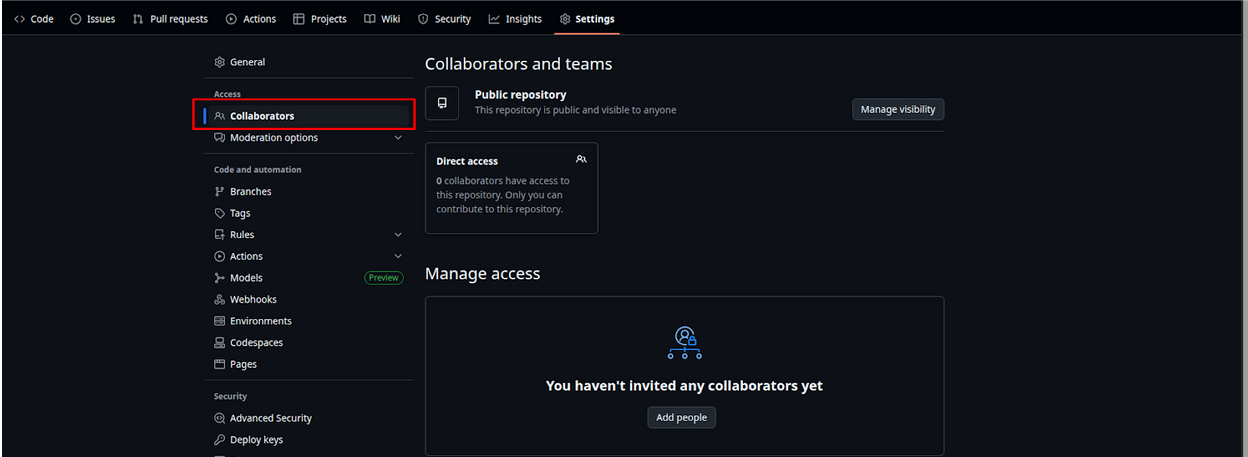
Step 3.2: Manage collaborators
In the Settings page, click on "Collaborators" in the left sidebar to add team members to your repository.
Next Steps
Now that you've successfully created a repository, you can:
- Clone your repository and learn basic Git commands
- Learn about branching and merging
- Create your first pull request
Pro Tip
When naming your repository, use lowercase letters, hyphens instead of spaces, and keep the name short but descriptive. This makes it easier to reference your repository in commands and URLs.